How and when you upload your customers is dependent upon your preference. We have recommendations based on creating the best user experience:
- To maintain an effective response rate, upload your customers as close to the project/job/stage completion date as possible.
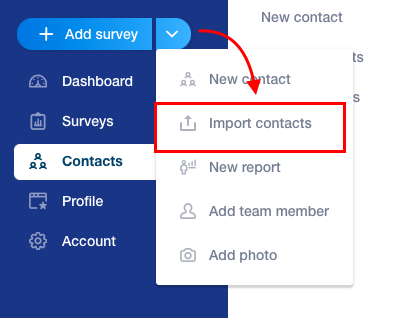
- If you’re uploading more than a handful of customers at a time, use the import tool (see below) to upload a spreadsheet.
- Customize your surveys, if you need to, before uploading clients.
You’re welcome to use whatever customer input method works best for your processes!
Importing via the Customer Portal:
If you don’t currently use a CRM/Excel to house your contact information, the customer portal is our recommendation for you. By typing in the customer’s information you can schedule surveys, add photos, tag your crew, assign filters, and keep track of internal project notes all on one page.
Click the “+ Add survey” tab in the Navigation Menu on the right hand side of your screen.
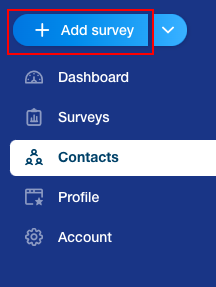
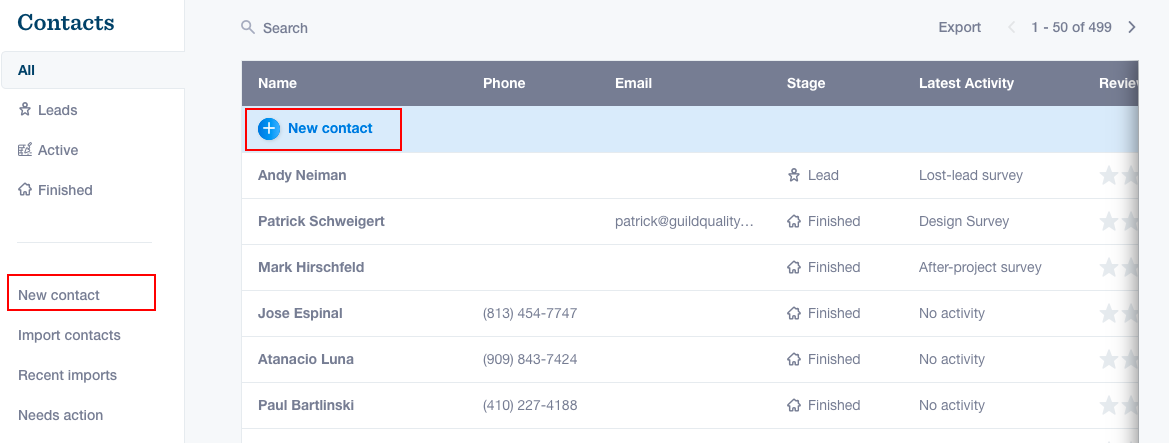
You can also use the blue navigation bar on the left side of the page. Select CONTACTS>NEW CONTACT
Provide as much information as you have available. The required fields that you must provide in order to start a survey are as follows:
-
- Homeowner Name
- Email Address AND/OR Phone Number *both are encouraged
- Address (allows for the job to be plotted on your profile project map)
- the Lead, Active or Finished date to trigger when the survey is initiated
Survey templates can be set, by default, to send immediately. In order to send out a survey, one of the date fields must be populated.
You can continue to add relevant project information such as team, project types, project filters, and project notes as needed.
Next you will want to add a survey to your project:

You can choose from any surveys in the drop down.
Your account allows you to select ‘default template(s)’ (Account>templates>default check box). Making this default selection will automatically append the template to each new contact/project you add. You are able to change the default surveys schedule or remove the default survey for each customer. You can add a survey group, or select individual surveys to be added. If the “add” option is greyed out, it indicates you have already selected that survey for the project OR the survey is only available for a different project stage.
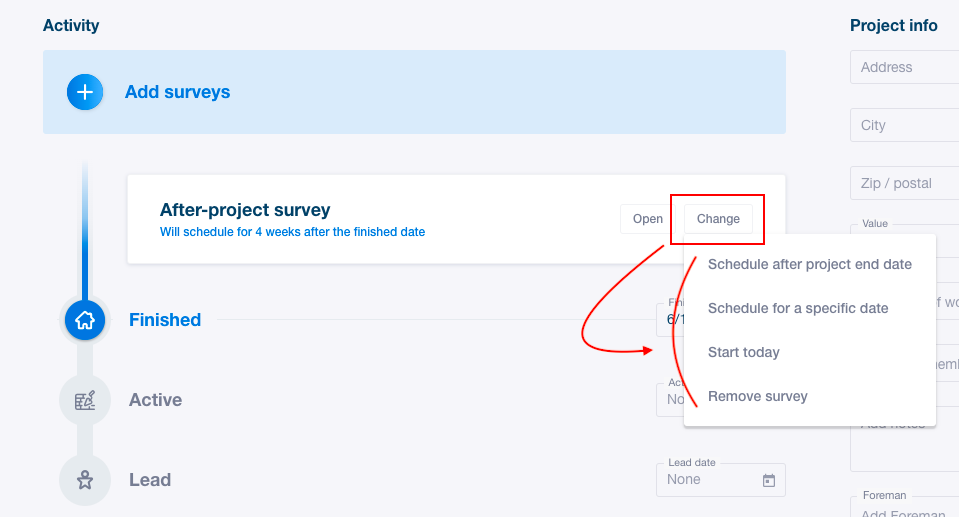
To review the template you add to a customer, select the open button;

If you need to remove the selected template, or change the survey schedule, select “change” and pick an option from the menu;
Once you have your customer information input into the fields, have selected your desired template(s) and set the survey schedule, be sure to hit Save Changes & Schedule Surveys in the bottom right corner of your screen.

Using the Upload Tool:
The uploader only works with a .CSV or .xlsx, so before you begin, please ensure your file is saved in the correct format. Follow these step-by-step below to use the uploader tool:
From the import contacts page, select your .CSV or .xlxs file for upload’

- Map your columns. Your columns will come from your spreadsheet headers, so they don’t have to match to be mappable, as long as you recognize the headers. Manually select the appropriate header for the GuildQuality column name. (Example you may want to map a column called “Installer” to “Crew” in the uploader). You can skip any columns that you don’t want uploaded. Click Next to move on.
- Add Types of Work. Click Next to move on.
- En masse: Use the +type of work option in the header of your page
- Individual: Use the +type of work option next to the customer name.
- Add Crews. If you didn’t import Crews from your spreadsheet, you can add them now, or add additional crews to your projects for reporting. Click Next to move on.
- En masse: Use the +crew option in the header of your page
- Individual: Use the +crew option next to the customer name.
- Review your import. Once everything is set up in your import, you can review it before you launch any surveys and make any adjustments necessary. If everything looks correct, hit the blue Import button at the top right of your screen. A window will pop up asking if you’re ready to send the surveys now, or if you want to wait and send the surveys manually at a later date. The survey selected will be the survey that goes live to the entire spreadsheet:
If you would like to select a different survey, you can remove the current one and click Add Survey and select a survey to add from the dropdown. You can also update the survey schedule at this step if need be.

GuildQuality Data Team
We have a specialized team here at GuildQuality that is available to upload customer data on your behalf. You can send your customer data over to our team in an excel file for loading at data@guildquality.com!
Data Integrations
We off a variety of data integrations for ease of customer data submission. You can read more information HERE!
If you are experiencing any issues in this process please email support@guildquality.com or call 888.355.9223 Ext. 2 and our Support Team will be happy to assist you.